WAPT Cloud in Amazon EC2
Here is a quick instruction on how to launch WAPT Cloud in Amazon EC2.
[1] Create a new AWS account or sign in to an existing one ![]() here.
here.
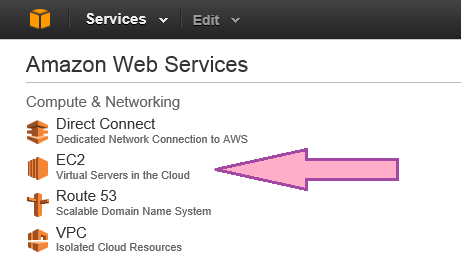
[2] Choose the EC2 service.
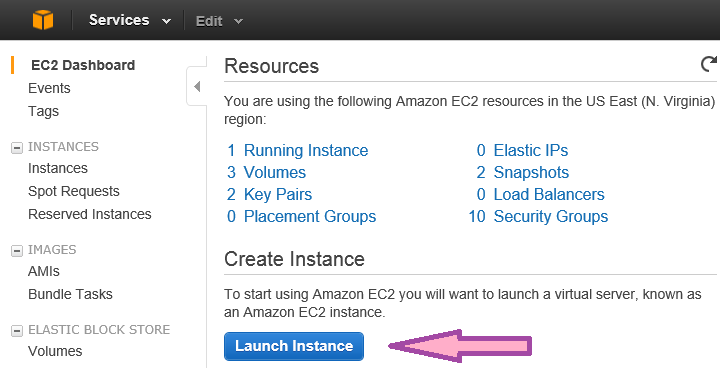
[3] Click the "Launch Instance" button.
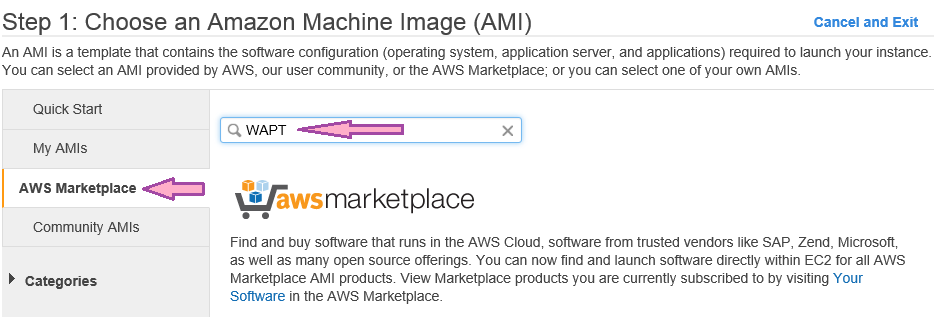
[4] Choose "AWS Marketplace" in the left view and enter "WAPT" in the search field to the right. Press "Enter" to run the search.
[5] You will see a list of products that will include WAPT Cloud and Cloud Engines. Click the "Select" button to the right of "WAPT Cloud".
[6] You can choose any instance type. For general purpose tests the minimum available configuration will be sufficient.
[7] Click the "Preview and Launch" button at the bottom of the page.
[8] You can see all the properties of the instance you are about to launch. Click the
[9] The following dialog will appear. Choose "Create a new key pair" option and enter some name for your pair. Click the "Download Key Pair" button.

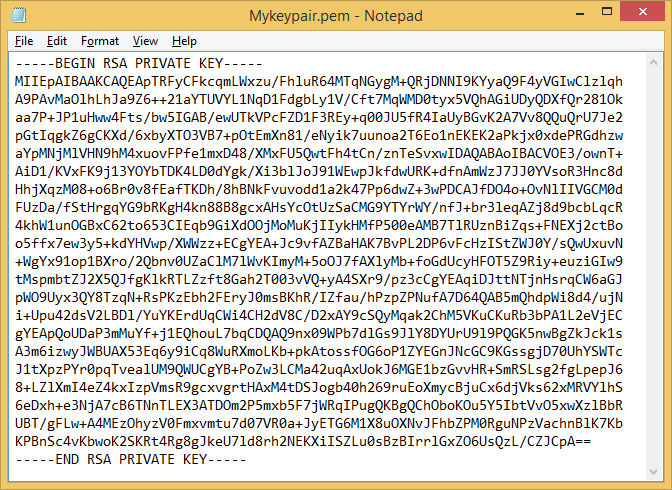
[10] Download the file and open it in Notepad. It will look like this.
[11] Click the "Launch Instances" button. This will finally launch the product.
[12] Click the "View Instances" button or switch to the "Instances" page in the EC2 console.
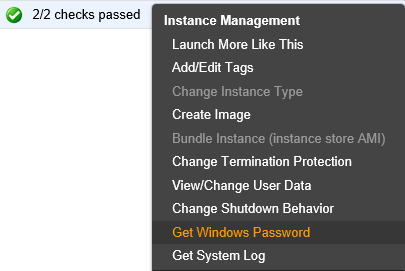
[13] Wait until the "Status checks" value of your instance changes to "2/2 checks passed".

[14] Right-click on the instance and choose "Get Windows Password" from the menu.
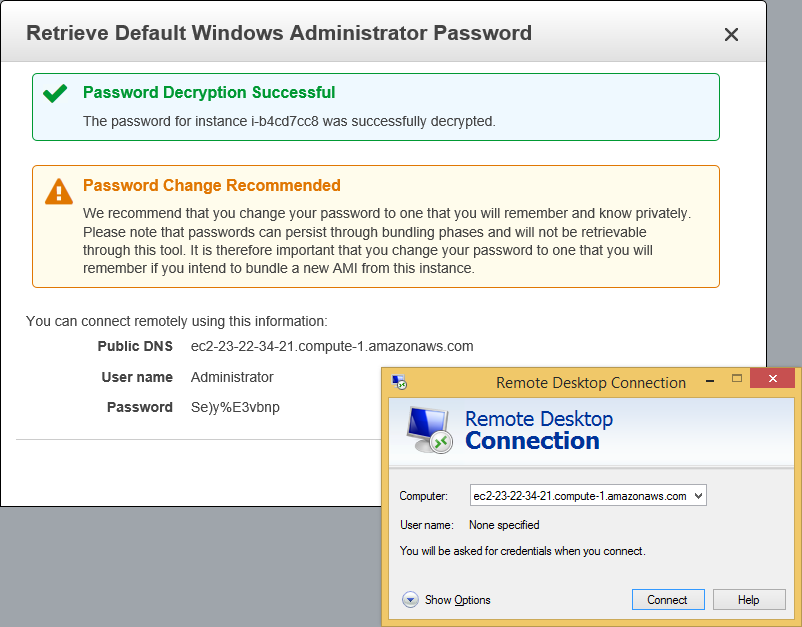
[15] The following dialog will appear. Use it to get the Windows password for your instance. Paste the content of the key pair file and click the "Decrypt Password" button.

[16] You will be provided with the password for the Administrator account and the public name of your instance. Use this information to connect to it with help of Remote Desktop.
[17] When you connect, you will see the WAPT Cloud window already open on the desktop. The product is fully configured, so you can start recording tests with help of Internet Explorer, Chrome or Firefox browser. If you are not familiar with the WAPT products, please take a look at our Quick Start Guide.
[18] Do not forget to save your work and stop your instance when you finish using it, because otherwise you will continue paying hourly fee even after you disconnect. To stop the instance right click it in the list and choose "Stop" from the menu.
[19] You will be able to start the stopped instance again at any time in the future. It will take less time to get back to work, because you can use the same password. The computer name will change, so you will need to copy the new one from the EC2 console.
[20] If you want to run a test with over 250 virtual users, in addition to the WAPT Cloud instance you can also launch any number of Cloud Engine instances and add them to your environment. A step by step instruction on how to do this is provided here.