SNMP (Simple Network Management Protocol) is a network protocol that allows one device to query another device for information, change information on a device, or for one device to send a message to another device. It is widely used to monitor hardware and software components of web sites during normal operations or during testing. That is why advanced load testing tools, such as WAPT Pro, usually have ability to connect to any servers and receive performance counters data (such as CPU or RAM usage values).
Older versions of Windows, like XP, had SNMP service installed by default, so you only had to start it or enable automatic start. After that you could connect to that system with any SNMP client and monitor anything you needed.
For some reason Microsoft does not like SNMP. I do not know why. They think that this service is unnecessary even for server solutions, which looks strange in my opinion. In practice this resulted in harder configuration procedures for modern OS, like Windows 8 or Windows Server 2012.
The good news is that it still takes just couple minutes to setup, but you need to know where to click. Here is the instruction.
On Windows 2012 you need to open the Server Manager. If you are using Windows 7/8, skip to the next step.
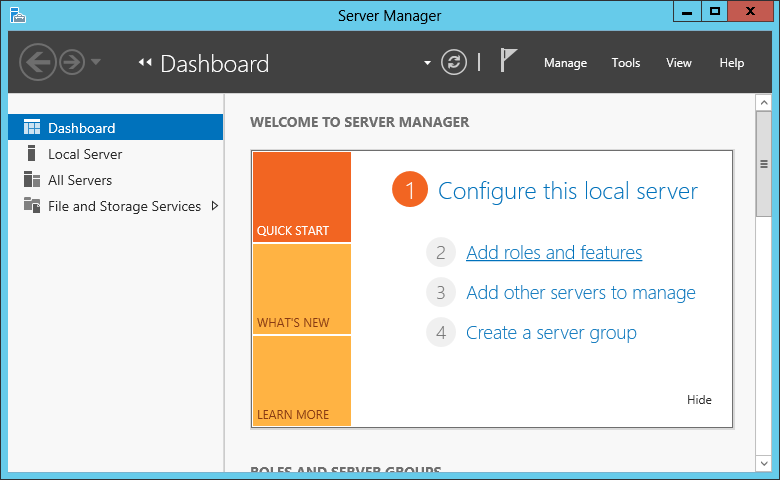
Click the “Add roles and features” link.
On the followed pages click the “Next” button several times leaving the default choices until you get to the Features page. Check the “SNMP Service” in the list of features.
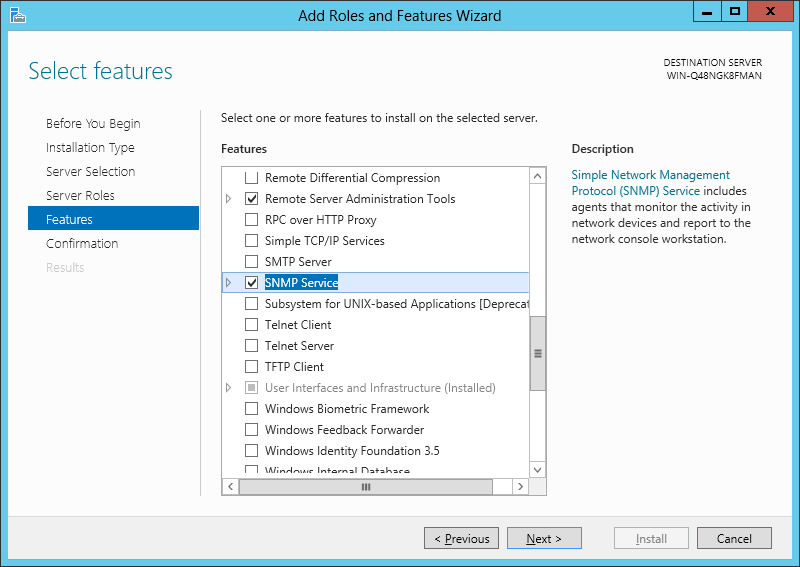
Click the “Next” button and “Install” button on the next page. The installation process will start.
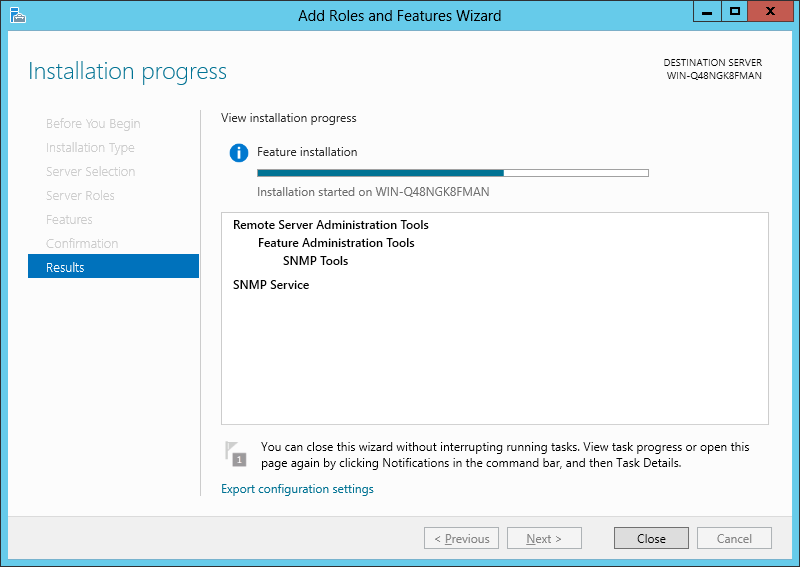
When it is finished, close the window.
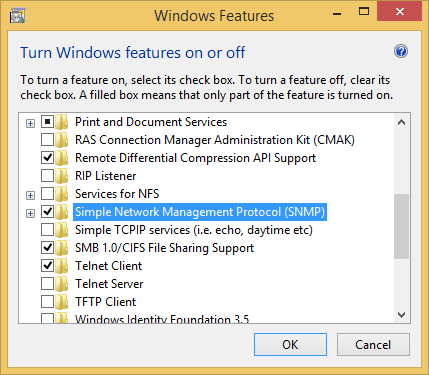
If your OS is Windows 7 or 8, instead of the above steps you can simply choose “Turn Windows features on or off” option from the Control Panel and select SNMP in the following dialog.
Now open the Services window. You can do this from Control Panel in any OS. If you do not know where to click, just type “services” in the search field and it will show you the link.
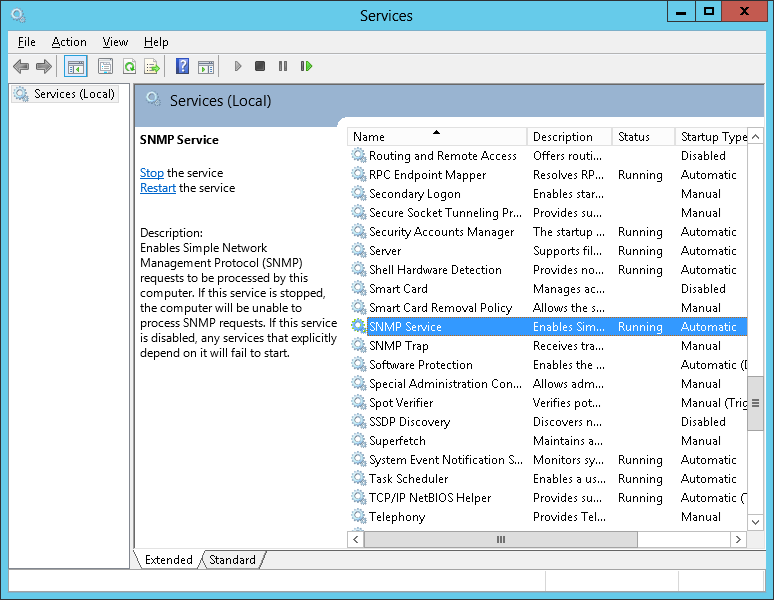
Double-click the “SNMP Service” item and specify the following settings on the Security tab.
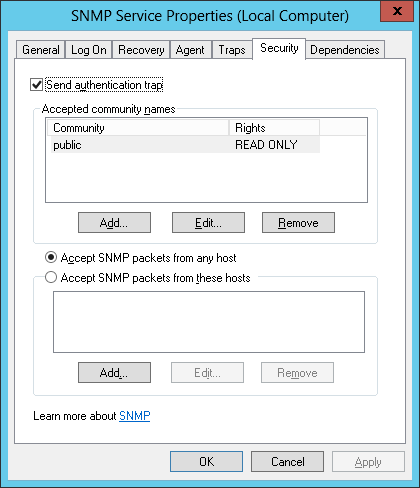
To do this you will need to click the “Add…” button and add the “public” community.
If you want to connect to the SNMP service from the same system, you can do this now. If you want to access it from a different system, you need to do couple more steps to open SNMP port for incoming connections.
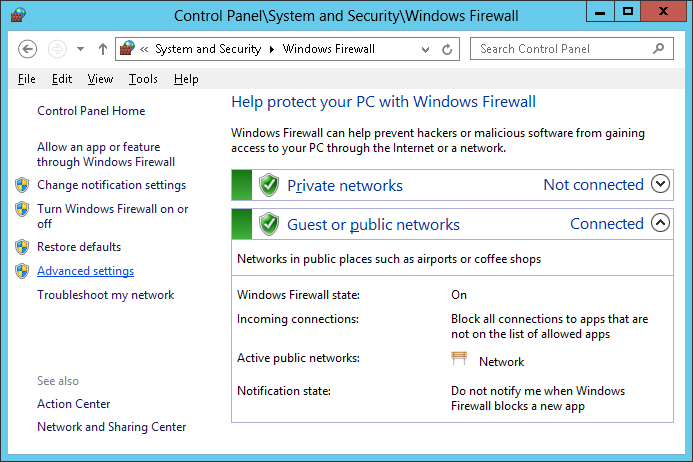
Open the Windows Firewall. You can do this from the Control Panel. Click the “Advanced settings” link in the Windows Firewall window.
Select the “SNMP Service” rule, the one that works for “Private, Public” profiles.
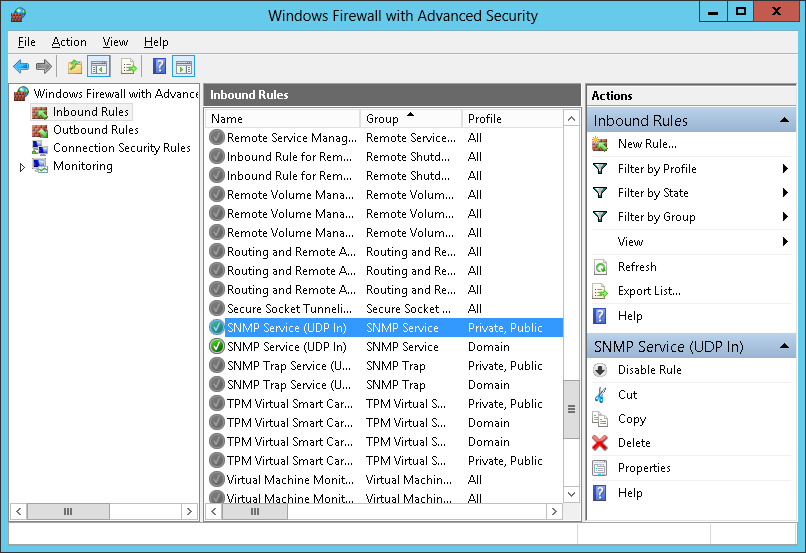
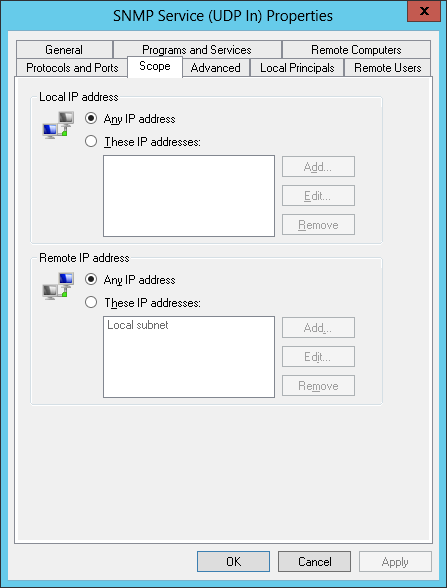
If you open the “Scope” tab, you will see that this rule initially allows access only for a list of IP addresses, but no addresses are specified. So, you can either specify the addresses from which you are going to connect or check the “Any IP address” option.
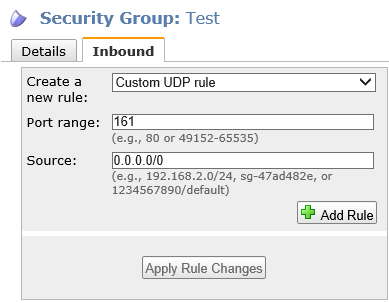
Now your SNMP service should work fine and it is available from other systems. Note however that if you use other firewalls, you should add the corresponding rule to them. SNMP work over UDP protocol and uses port number 161, so you should open it.
For example, if you run your system in Amazon EC2, you should create the following rule in the security group of your instance.
Pingback: 2014 WINDOWS FIREWALL
Pingback: WINDOWS FIREWALL GROUP POLICY 2014 News
Thank you for this detailed setup. It works great!!