Windows Management Instrumentation (WMI) is one of the common interfaces used to retrieve information from a Windows system. Such information can include values provided not only by the system itself, but by various software programs running on it. That is why WMI is widely used to monitor the performance and correct operation of the server components.
Many load testing tools, such as WAPT Pro, can monitor performance counters directly from the tested servers with help of WMI. The most useful counters are those representing CPU, RAM and network usage, but there can be other server-specific ones that you can easily retrieve.
WMI is enabled by default on all Windows systems starting from XP. However, while WMI usually works fine inside a Windows domain, it becomes a big problem if you want to connect to a remote server and monitor it the same way. You can resolve this problem in a number of ways. This article describes probably the simplest solution.
I suppose that you have administrative access rights for the client system (from which you want to monitor) and for the server system (to witch you will connect). This is required to make the necessary modifications to the configuration of each system.
On the client system you will only need to modify the “hosts” file. The full path to this file is: “C:\Windows\System32\Drivers\etc\hosts”. (Depending on your system drive it may start from a different letter.)
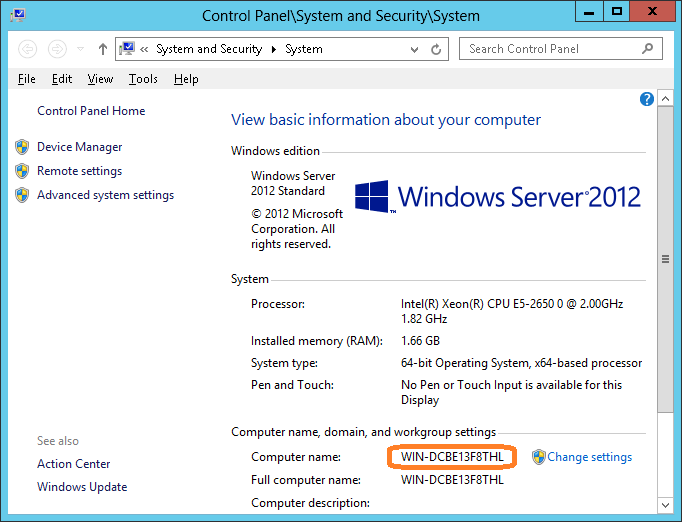
You need to add a line that will let your client system resolve the local name of the remote system to its public IP address. In the following example, the name of the remote system is WIN-DCBE13F8THL and the IP is 180.10.20.30:
180.10.20.30 WIN-DCBE13F8THL
You can get that system name in the following dialog.
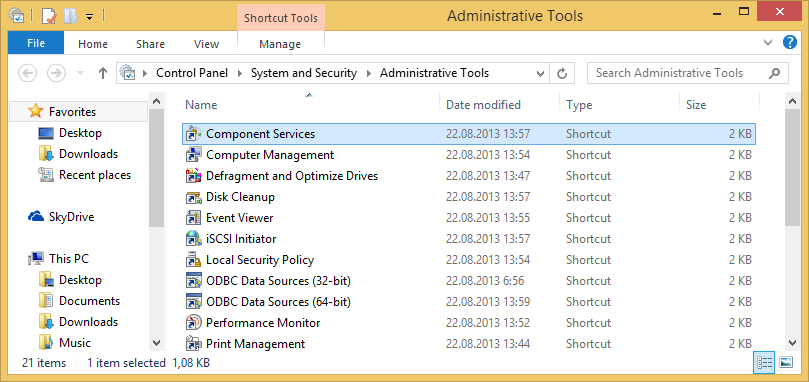
Now let’s configure the server system. Open the “Component Services” window. You can find it through the Control Panel or Server Manager.
Select the “DCOM Config” item in the left view as shown on the following screenshot.
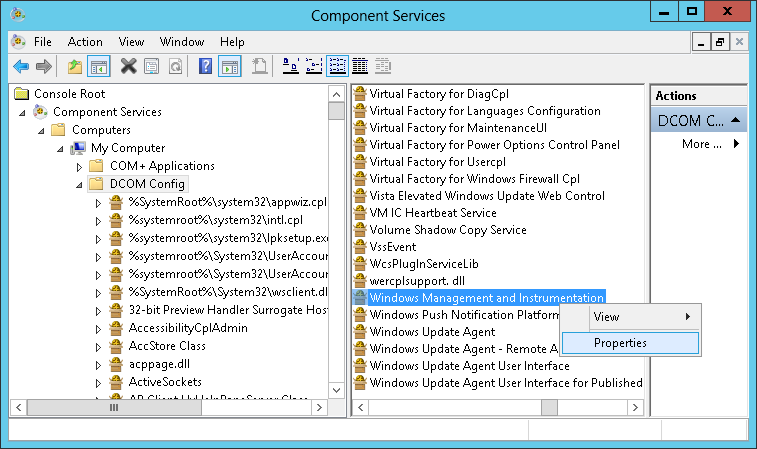
In the right view locate the “Windows Management and Instrumentation” item, right click on it and choose “Properties” from the popup menu.
Open the “Endpoints” tab, click the “Add” button on it and choose the “Use static endpoint” option. Specify any unused port (preferably higher than 10000). The client will connect to this port over TCP/IP, so you need to open it in all firewalls you have between the systems. This includes local server Windows Firewall as well.
In the following screenshot we use port 16100 as an example.
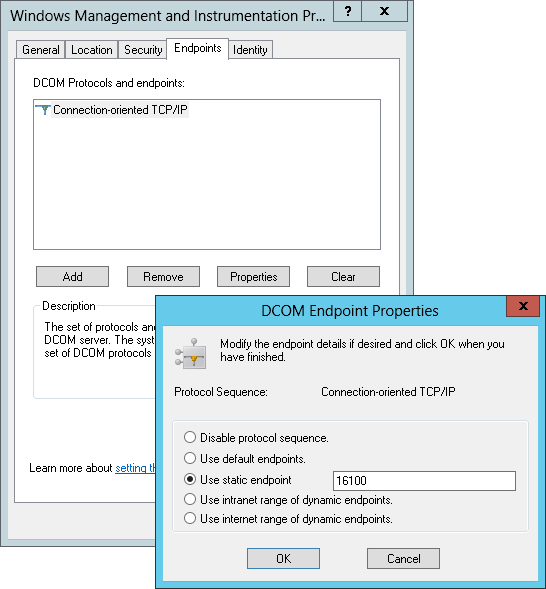
You will also need to open same access for the port 135, which is the standard WMI port.
Click “Ok” in all dialogs.
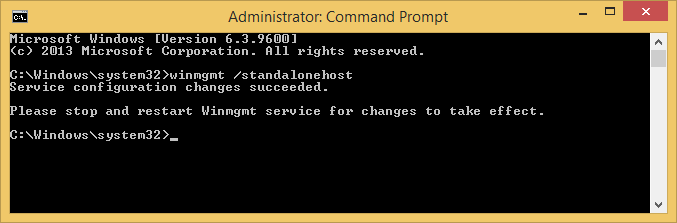
In the Command Prompt execute the following command (do not forget to run the prompt window “As Administrator”):
winmgmt /standalonehost
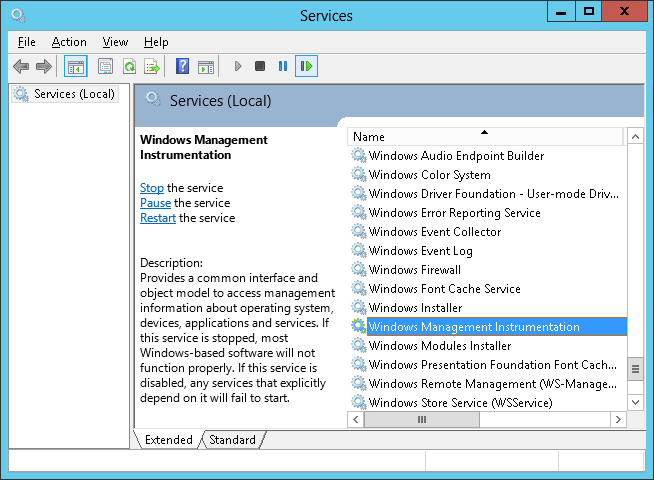
Restart the WMI service. You can do this from the Services window.
Alternatively you can just type the following in the Command Prompt:
net stop winmgmt

net start winmgmt
A short summary of all steps for the server side:
- Specify the endpoint port.
- Open connection to that port and port 135 in all firewalls.
- Execute the “winmgmt /standalonehost” command.
- Restart the WMI service.
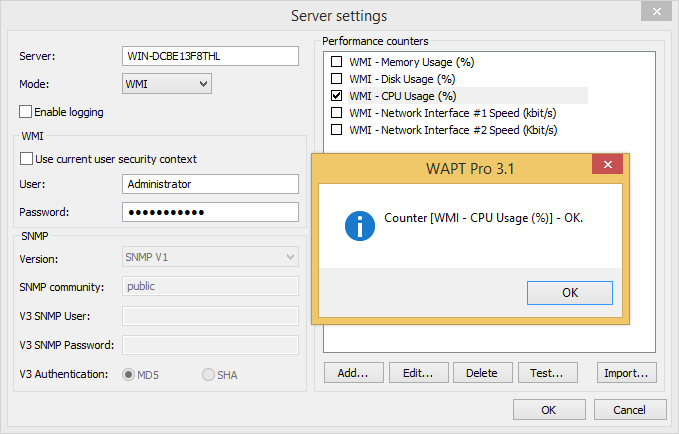
Now you can connect to the remote server WMI. Do not forget to specify the credentials for an account that has the corresponding rights.
Here is an example of the WAPT Pro performance counters window that connects to the server we configured.